Knowledge
How a Handcrafted Pool Cue Is Made
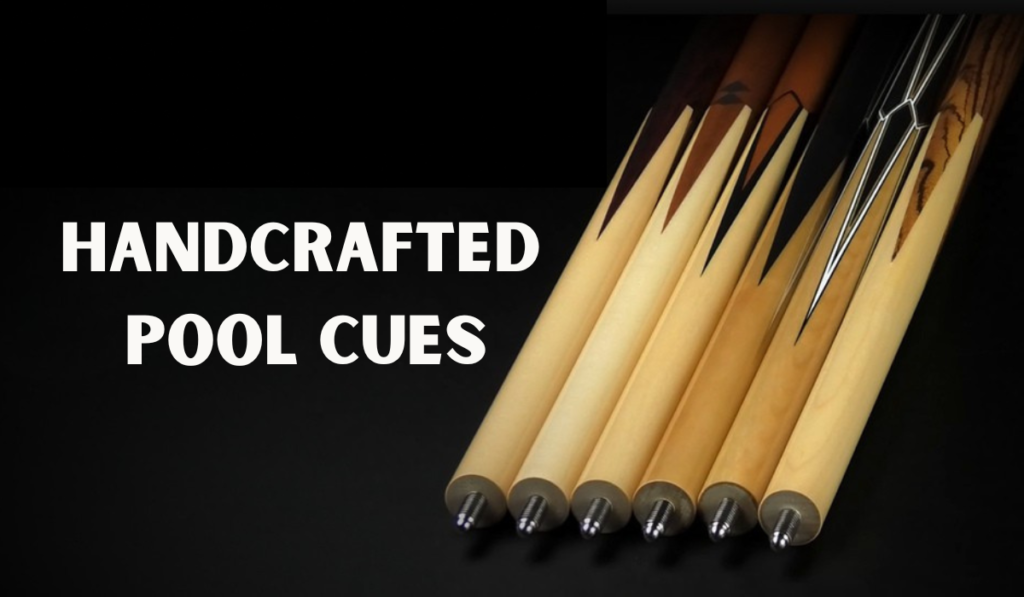
Why do some cues stay straight for years while others warp within months? Why does one cue feel balanced and precise while another feels unpredictable?
The answer often comes down to how the cue is built. In this article, you’ll learn the key steps behind crafting a quality pool cue from wood selection to the final wrap so you can see what separates a reliable cue from an average one.
Key Takeaways
- A cue’s performance and durability depend heavily on the build process, not just the final appearance.
- Maple is the preferred wood for shafts because it offers strength, stability, and consistent play.
- Points are a key indicator of craftsmanship—clean alignment and even veneers show precision in construction.
- A cue is built from multiple parts (forearm, handle, butt sleeve, butt cap), all of which must be fitted and turned as one seamless piece.
- Weight adjustments come from the threaded rod inside the butt, cut to match the desired balance.
- The joint pin requires near-perfect accuracy to keep the cue straight and ensure a solid connection.
- Handle wraps (leather or Irish linen) are applied after finishing and must be wound evenly for comfort and control.
- Price varies based on materials, number of points, inlays, wrap type, and total hours of skilled labor.
Selecting and Preparing the Wood
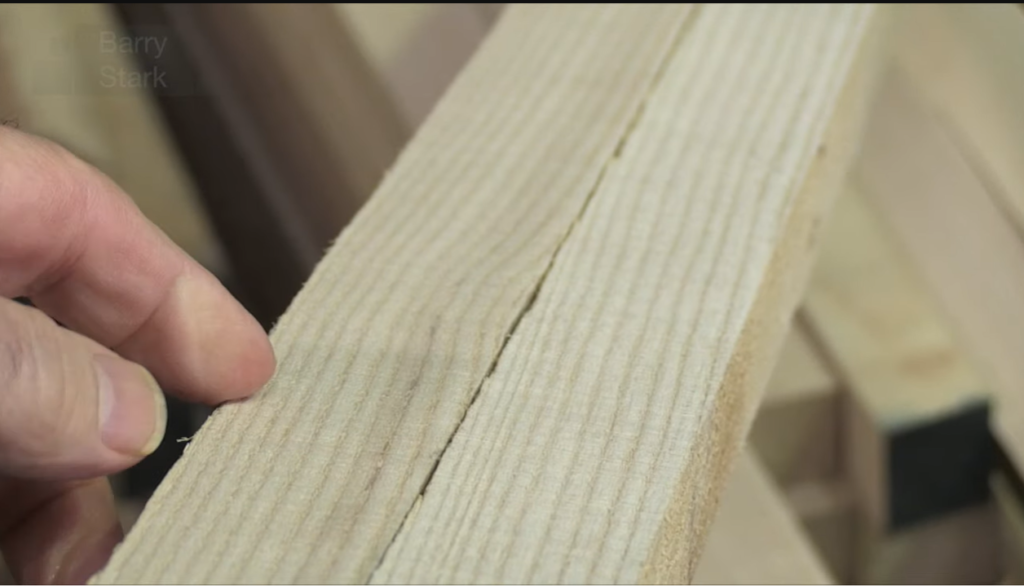
Everything begins with choosing the right wood. Maple is commonly used for shafts because it’s strong and stable. The wood starts as a block, then gets cut into a square, placed on a lathe, shaped into a round dowel, and given a light initial taper.
After that, the dowel is conditioned to reduce moisture and allow it to stabilize. Once it reaches an appropriate moisture level, the maker removes a very small amount of material each month to keep the shaft straight and prevent distortion over time.
For the butt section, dense and decorative hardwoods such as ebony, rosewood, purpleheart, or figured maple are used to create both beauty and balanced weight.
Creating the Points
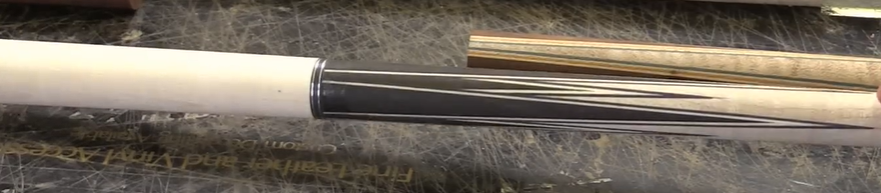
Points are the triangular shapes that rise up the forearm of the cue. To make them, the maker cuts precise grooves into the dowel, then inserts layers of veneer and hardwood into these channels.
When the cue is turned again, the veneer layers taper down into sharp points. A high-quality cue usually has points that are:
- aligned evenly around the cue
- symmetrical
- consistent, with veneers matching cleanly from end to end
The number of points (4, 6, 8, etc.) affects both the complexity and the time required to build the cue.
Assembling the Forearm, Handle, and Butt Sleeve

A cue is built from several main parts:
- the forearm (where the points sit)
- the handle section
- the butt sleeve
- the butt cap
Each piece is bored out, fitted together, and glued. After assembly, the cue goes back on the lathe so everything can be turned into one smooth, seamless shape with the correct diameter.
Inside the butt, a threaded rod is added to adjust the cue’s weight. The rod is cut to the exact length needed to reach the final weight the maker wants.
Drilling and Installing the Joint Pin
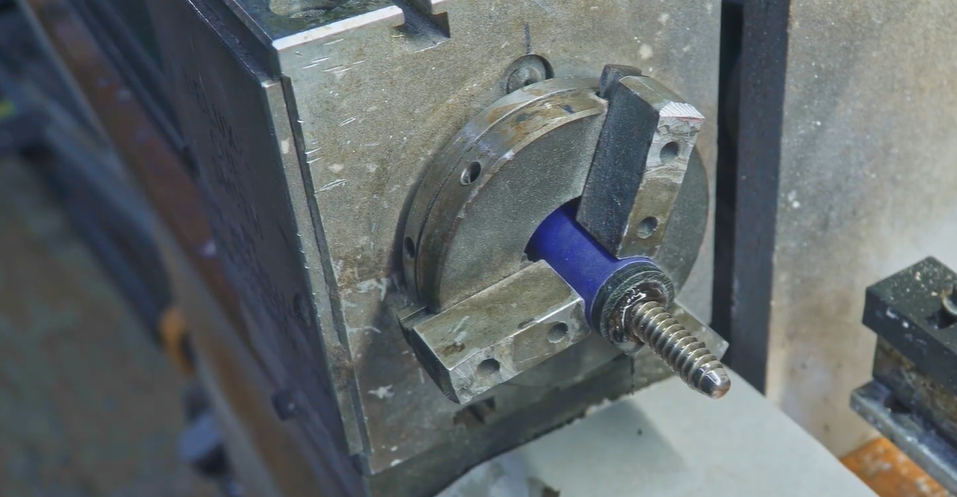
The joint pin connects the butt and shaft, so accuracy is essential. The cue is secured in place and checked with a dial indicator to ensure almost no runout. Only when the cue is perfectly centered is the hole drilled and the joint pin installed.
Finishing and Wrapping the Handle
After finishing and polishing, the handle area is left uncoated because this is where the wrap will go. To prepare for the wrap, the maker slightly reduces the diameter of this section so the final wrap sits flush.
A cue can be wrapped in:
- leather
- or fine Irish linen (Personally, I prefer Irish linen. It has a clean, soft texture that feels great in the hand).
The linen is wound using a two-direction motor so the thread lays evenly, stays flat, and doesn’t overlap.
Factors That Affect Cue Pricing
The price of a custom cue depends on:
- the type of wood
- the number of points
- the number of inlays
- the wrap material
- the total labor hours
Basic designs fall on the lower end, while cues with many inlays and points require significantly more time and craftsmanship.
How Long It Takes to Build a Cue by Hand vs. in a Factory
Handcrafting a pool cue is a slow, deliberate process.
Drying the wood alone can take weeks, and each stage tapering, cutting points, turning the parts, fitting the joint, finishing, and wrapping requires time for the materials to settle before the next step begins.
A fully handmade cue often takes 40 to 100 hours of labor, spread across several weeks depending on the number of points, inlays, and the finish required.
Factory-made cues follow a completely different timeline. Automated lathes, pre-dried wood, and assembly-line processes allow mass-produced cues to be completed in a few hours, sometimes less than a day.
A Process Built on Patience and Skill
Watching the cue-making process firsthand showed me that even the smallest detail has a purpose. Every pass on the lathe, every cut, and every veneer layer requires patience and accuracy.
A handcrafted pool cue isn’t just a billiards tool—it’s the result of dozens of precise steps repeated until everything reaches balance and harmony.
Learn More
Cue Makers and Repairs Section